
Posts
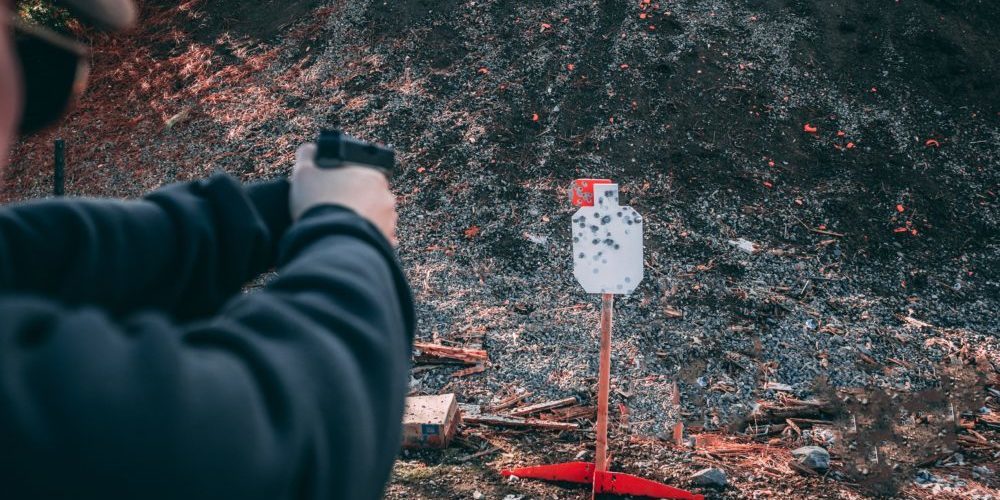
When it comes to target practice and firearm training most people tend to go for cardboard or paper targets. The reason for this is simply habit. What if we told you that there is a better way to test your shooting skills and get the most out of your time at the shooting range? AR500…
Read More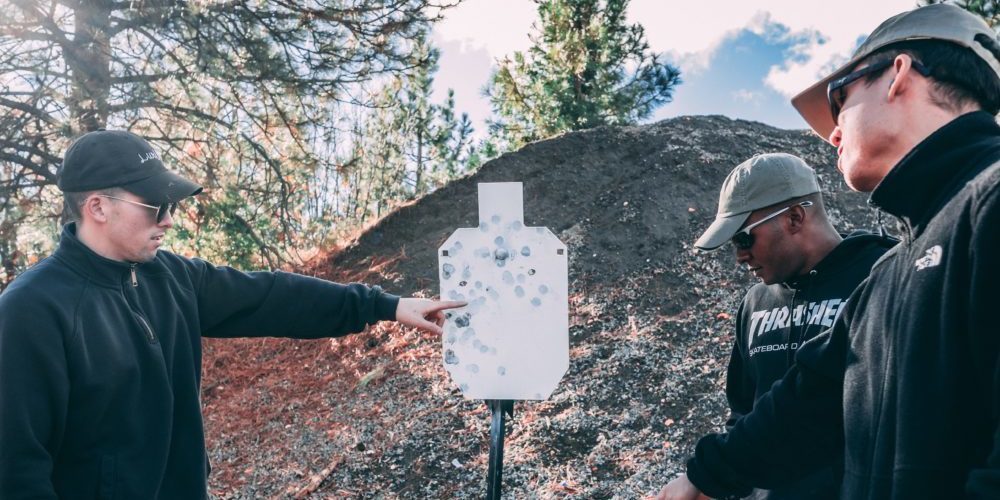
There is no right or wrong answer when it comes to choosing the best shooting targets. It all depends on what you want to get out of your shooting target. Whether you’re practicing at home short-range, long-range, or on the move. There are several factors that you need to consider before buying the perfect shooting…
Read More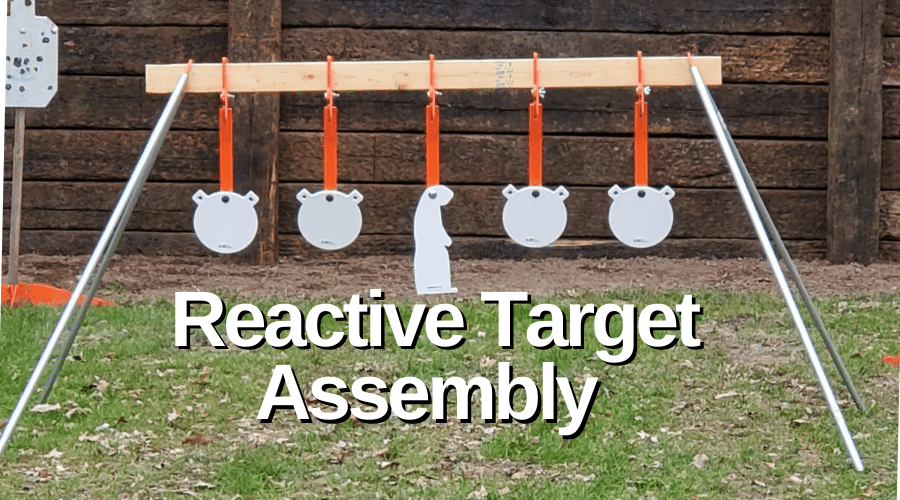
A standard 3-6ft tall 2×4 board (not included) and 4 pieces of ¾”x4-5ft electrical conduit (not included) are required to complete this assembly. Conduit can usually be found at your local hardware store for a few dollars. 1. Slide each piece of ¾” conduit onto the 2×4-conduit connectors in pic (1) 2. Assemble AR500 Hook & Strap…
Read More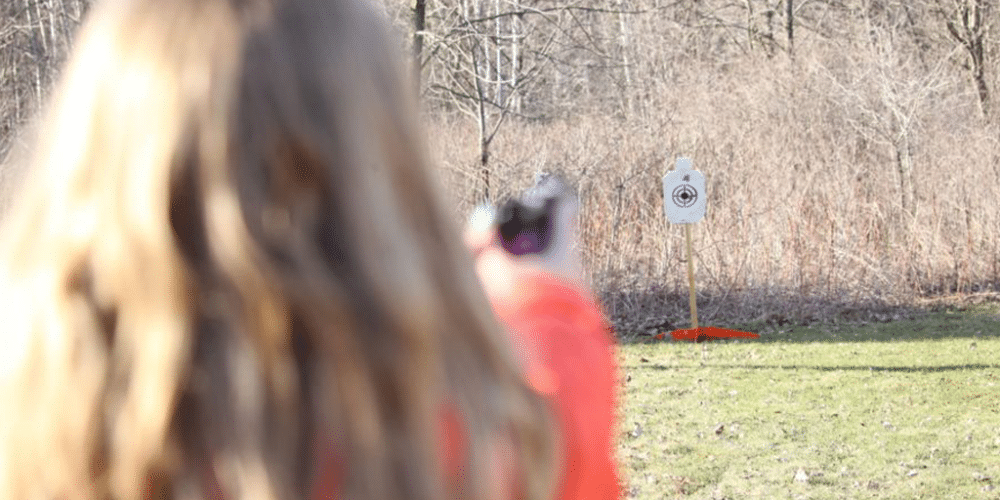
Lauren Myhre is my 18 year old daughter and is aspiring to be a journalist. This is her first blog, feel free to leave a comment on how she did. Send her some love. I thought this would be a great post for Fathers Day Weekend as I am a proud father. -John Myhre
Ready for a day at the range? Going through your head: Ammo, guns, AR500 steel targets, bad ass attitude. You think you have everything until you are at the range and find the one thing you need is what you are missing. So Instead of forgetting, here is a list of the top eight items you do not want to forget!
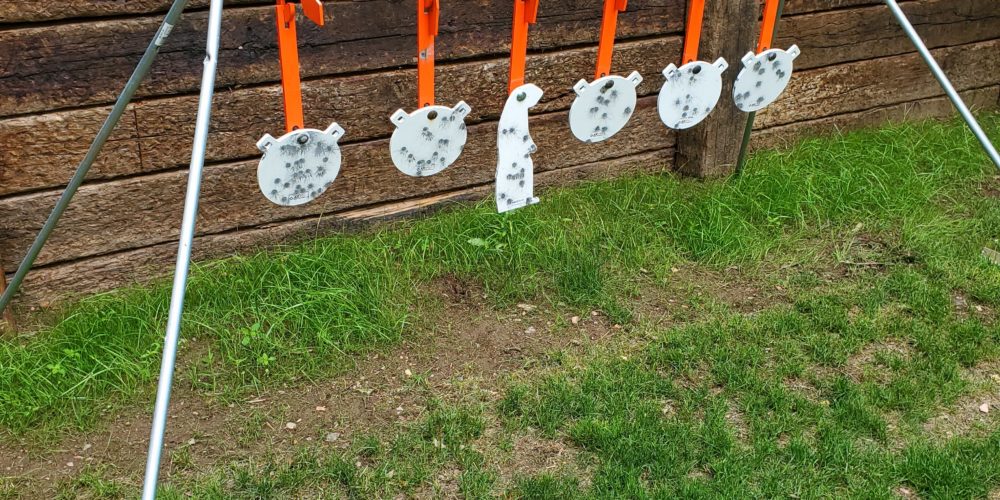
So, you’ve finally bought your first AR500 steel targets. They just arrived and you have taken them out of their package. Now what? How do you hang them so you can get shooting! In this article we will show you how to hang steel targets so they are safe to shoot at and will get the most life out of them and how they will give you the best “ring” when shot. Shooting steel targets can be fun and AR500 targets will last a long time when following these simple suggestions.
Read More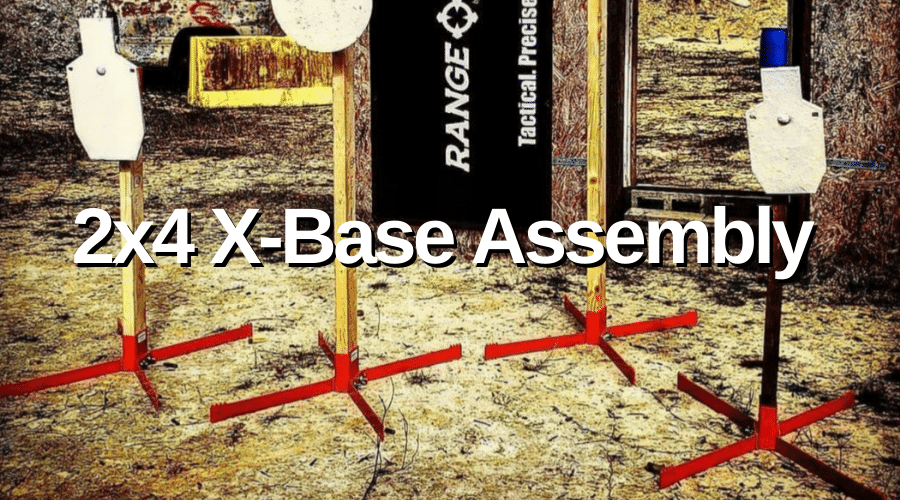
A standard 3-6ft tall 2×4 board (not included) is required to complete this assembly. Brand new inexpensive construction lumber works the best. 1. Unpackage 2×4 tube, four legs and two 3/8 carriage bolts with wingnuts. Pic (1) 2. Over lap legs on each side so bolt holes in legs and the 2×4 tube line up.…
Read More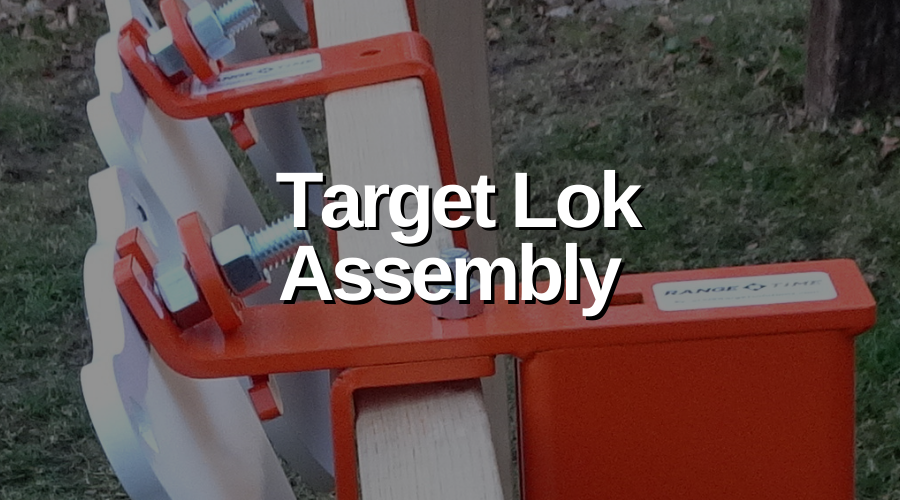
1. Insert carriage bolt into target front to back.Install washer over bolt on backside of target. Pic (1) 2. Install ½” regular nut leaving room between target and washer for room for mount. Tighten until the target barely touches the very top edge of the mount so target can move. Pic (2) 3. Install Target Lok. 4. Install ½”…
Read More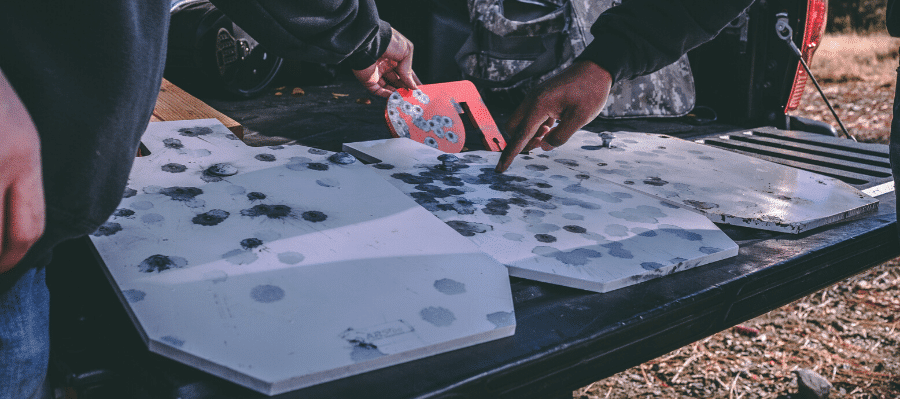
Lots of you have been asking us, “what’s the difference between AR550 and AR500 and do I need it”? Well, at AR500 we take your questions, commitment and trust in us seriously. After researching the different metals here is what we know for sure: Modern metals have a large range of properties and the hardness chosen…
Read More
A standard metal fence t-post (not included) is required to complete this assembly. 1. Insert mount over the top of a standard t-post. 2. Ensure the bolts face the flat part of the t-post. 3. Tighten the two 5/16” bolts (included) until the mount is firm. 4. Install a ½ inch x 2″ carriage bolt and lock nut into…
Read More
A standard 3-6ft tall 2×4 wooden board (not included) is required to assemble your stand, in addition to the mount kit components. 1. Insert 2×4 mount over the top of a standard 2×4 board. It should fit snugly. (Pic 1) 2. Install a ½ inch x 2″ carriage bolt and lock nut into your target. 3. Tighten until…
Read More