Reactive Target System Assembly
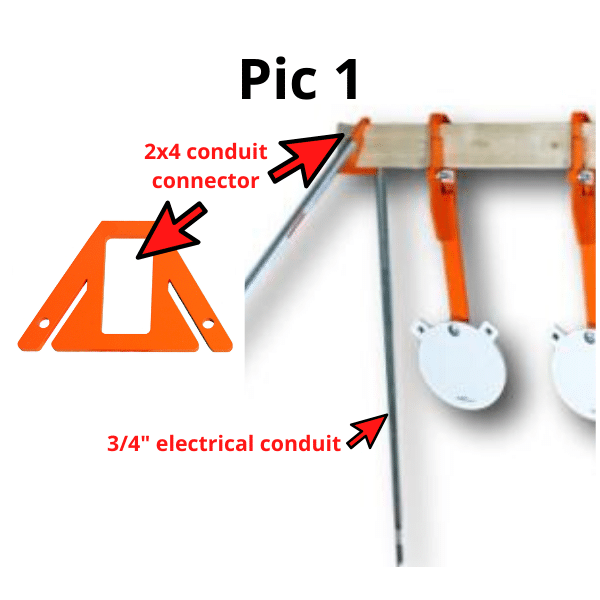
A standard 3-6ft tall 2×4 board (not included) and 4 pieces of ¾”x4-5ft electrical conduit (not included) are required to complete this assembly. Conduit can usually be found at your local hardware store for a few dollars.
1. Slide each piece of ¾” conduit onto the 2×4-conduit connectors in pic (1)
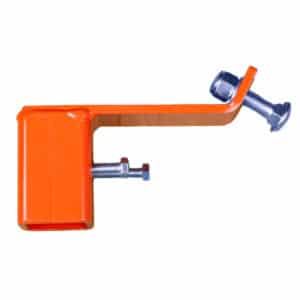
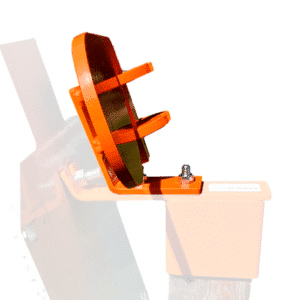
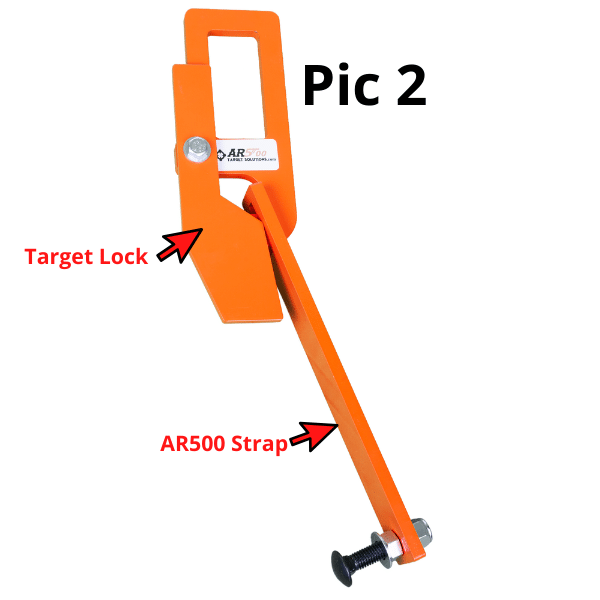
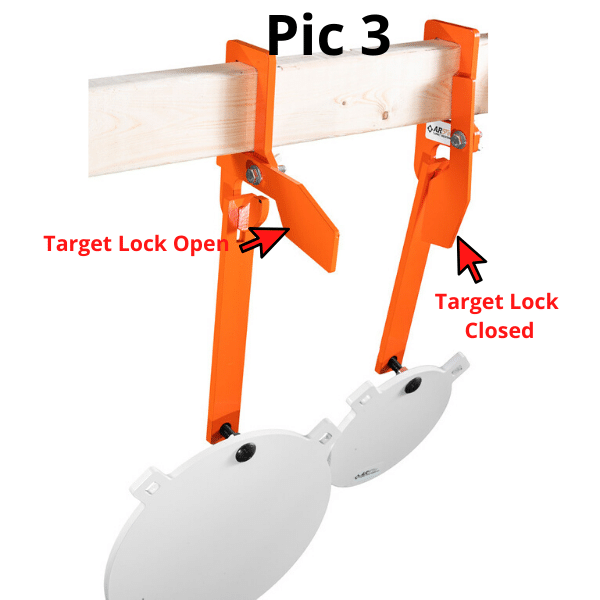
2. Assemble AR500 Hook & Strap as in Pic (2). Note the target lock can be used open or closed depending on how much target swing is desired. Closed works more like a popper with quick reset, open swings like a pend-elem when struck. Pic (3)
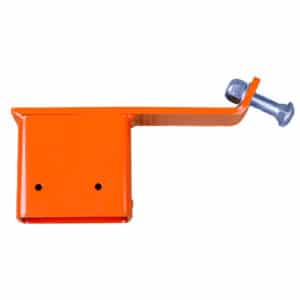
3. Slide the AR500 Hook & Strap System onto the 2×4, making sure the target stop is facing the direction of the shooter as in pic (4).

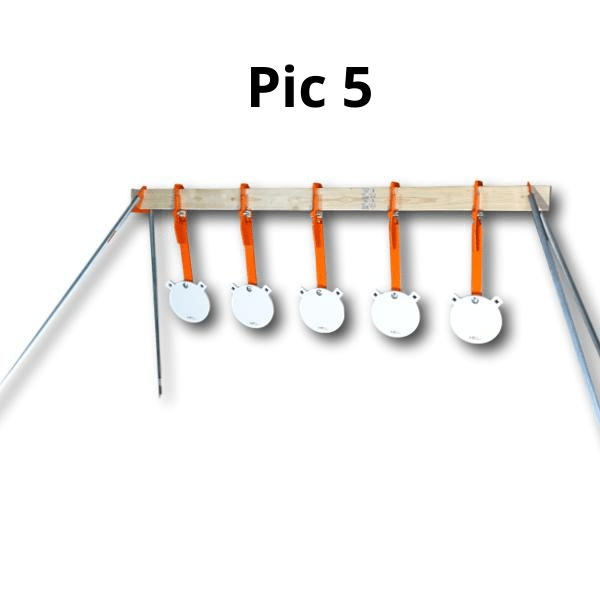
4. Slide 2×4 board into the 2×4-conduit connectors and pull the conduit legs out to for an angled sawhorse design.
5. (Optional) Drill 3/8” holes in the end of conduit and install a 3/8” bolt to hold conduit-2×4 connectors to the conduit for portability.
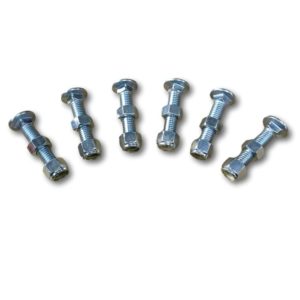
6. Install ½”x2 ½ bolt (included) on to the target. Tighten bolt to target using nut and washer.
7. Install target/bolt onto the AR500 hanging strap and tighten remaining ½” lock nut until nut is flush with the end of the bolt leaving target hang loose and at an angle.
-

AR500 Target Solutions Carriage Bolt Six Pack–Grade 8
WasAdd to cart$15.99
CHRISTMAS SALE PRICE $14.39 -
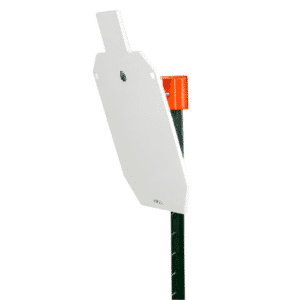
T Post Steel Target Hanger
WasAdd to cart$28.87
CHRISTMAS SALE PRICE $25.98 -
Steel Target Mounts For 2×4
WasAdd to cart$28.87
CHRISTMAS SALE PRICE $25.98 -
12×20 AR500 Shooting Targets Bundle (2 Pack)
WasAdd to cart$205.54
CHRISTMAS SALE PRICE $154.16 -
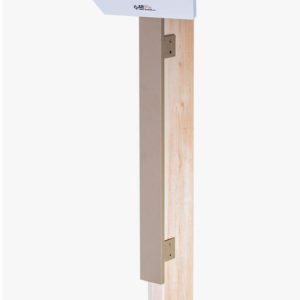
AR500 Steel 2×4 Protector –19″
WasAdd to cart$44.43
CHRISTMAS SALE PRICE $39.99 -
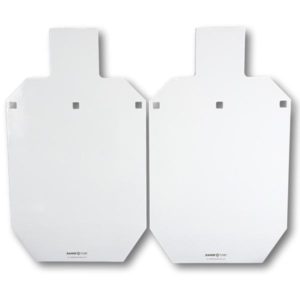
AR500 Silhouette Gong Shooting Targets Bundle (5 Pack)
WasAdd to cart$222.21
CHRISTMAS SALE PRICE $199.99 -
Reactive Steel Targets-Hostage Target Kit
WasAdd to cart$66.65
CHRISTMAS SALE PRICE $59.99 -
12×20 AR500 Silhouette T Post Target System – 3/8″ AR500
WasAdd to cart$127.77
CHRISTMAS SALE PRICE $95.83